
The site favicon can be easily changed in WordPress. The favicon is the site icon shown in the browser tab, bookmarks, etc.
Create a Favicon
The favicon should be a PNG file, which is a 512 x 512 size for WordPress. You can create this using software such as Photoshop, or if you are looking for something simple, use a Favicon Generator. With favicon.io, which I used, it is very easy.
- Go to their website.
- Select the Text -> ICO option (the second one… they also do image and emoji).
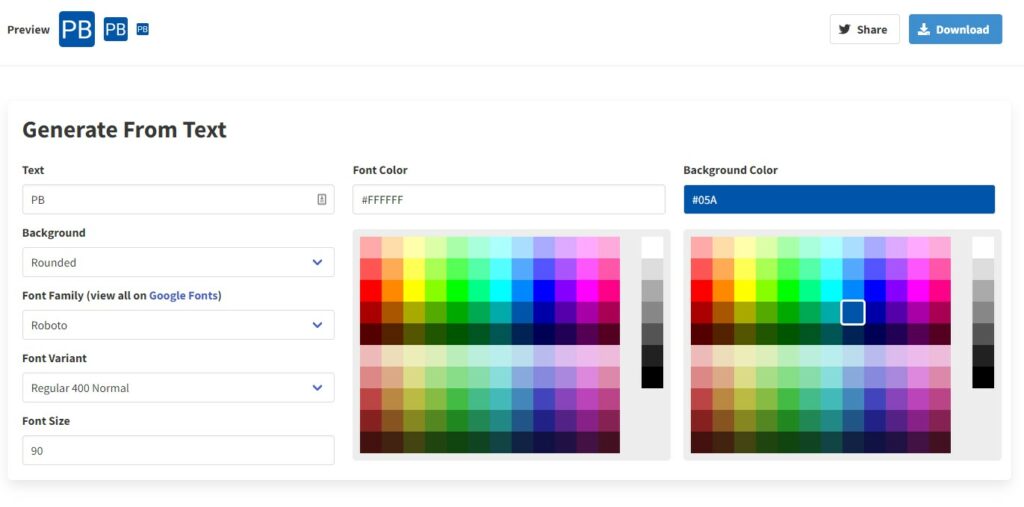
- Type in your text, select font, colors, size, etc. until you get it the way you like.
- Download the zip file, extract the zip.
- They provide output in a number of sizes, for WordPress the file android-chrome-512×512.png will work well.
Install the Favicon
On my version of WordPress this procedure worked.
- Select Dashboard -> Appearance -> Customize -> Site Identity
- At the bottom of the menu on the left, there is an option to upload the icon, or change it.
- Upload the 512×512 sized icon from above.
- Click Publish. Should be all set!
A helpful blog article on this can be found from wordpress.com here, however I did find that the menu location for the upload was different with my site’s theme and version.